Photography Mood Board: How to Build One from Your Pinterest Inspiration
A photography mood board is one page of 10 to 15 references that shows the light, colour, location, styling and posing for a shoot. Build it on a private Pinterest board with one section per decision, then share it with the client.
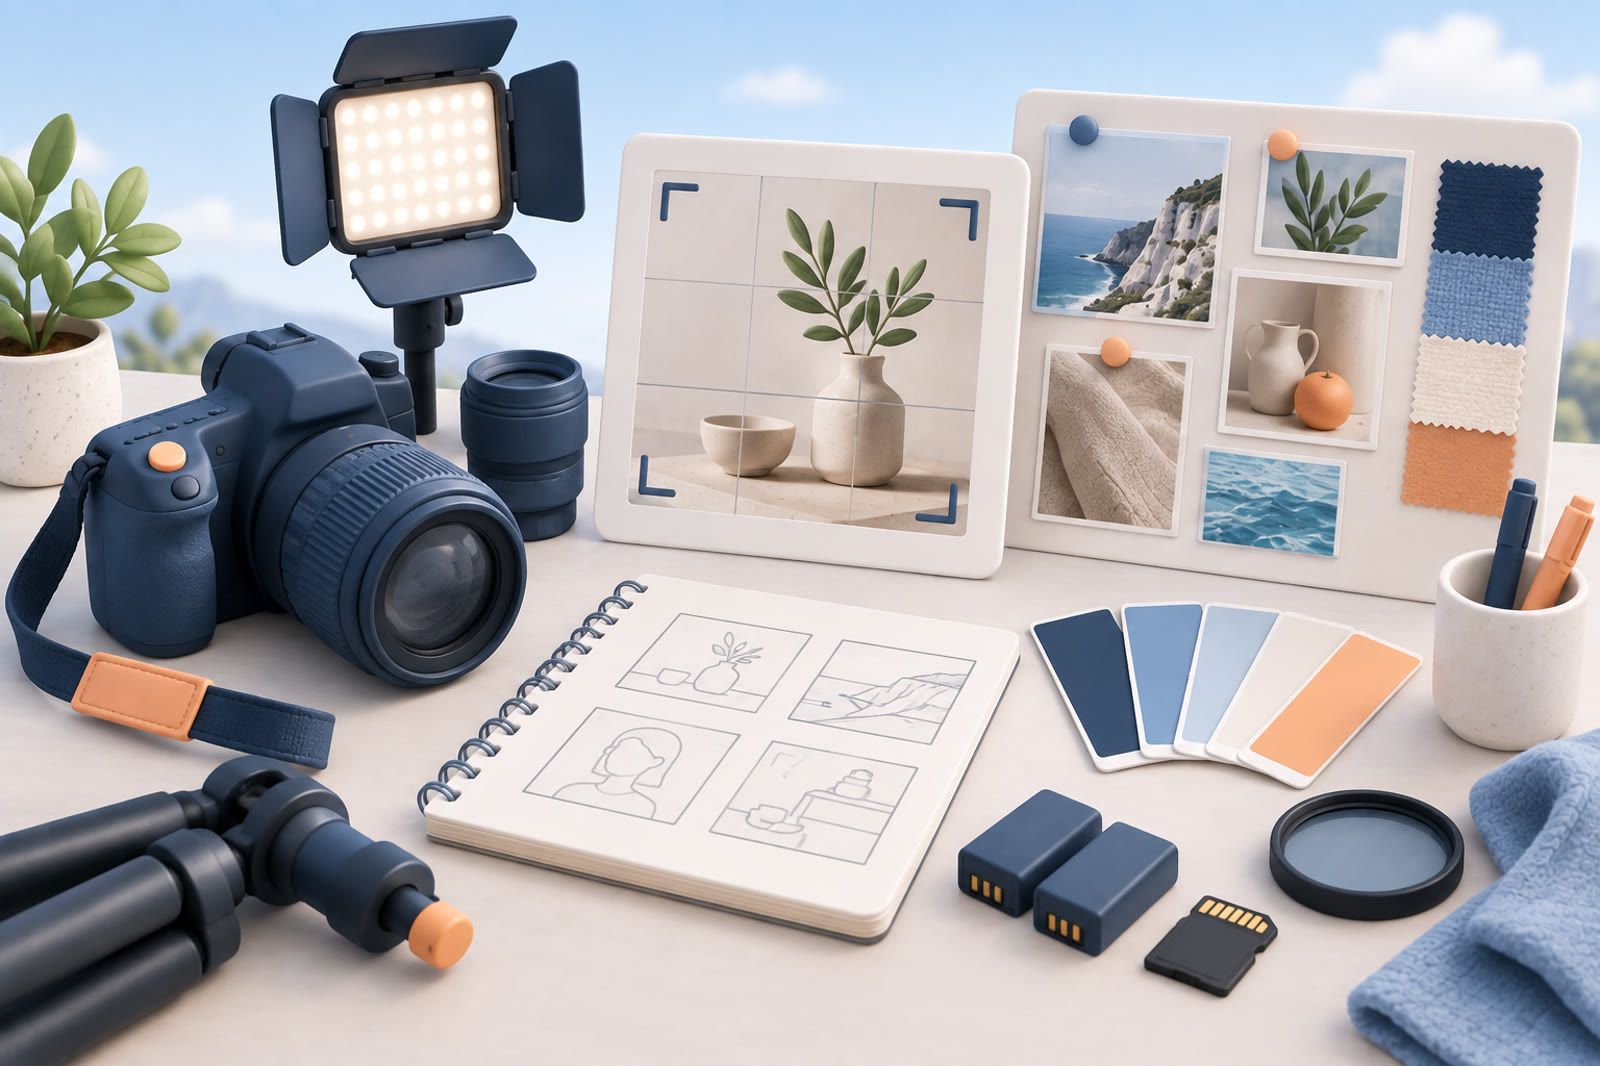
How to make a photography mood board
A photography mood board is a short set of references, usually 10 to 15, that shows the light, colour, location, styling and posing you plan for one shoot. Its job is to get you and the client to agree before the camera comes out. If your inspiration already lives on Pinterest, you can build it there in five steps:
- Write the brief in a few words, such as soft window light, muted greens, relaxed poses.
- Make a board for the shoot and keep it private while you work. Pinterest's switch is Make this board private in the board settings, and a private board is visible only to you and the people you invite, per Pinterest's help on private boards.
- Add one section per decision: Light, Colour, Location, Styling, Posing. Open the board, tap the plus icon, choose Section and name it. Then use Organize to move pins into it, as Pinterest's section guide shows.
- Pull two or three references into each section from your permanent boards. Star the one that best shows each decision. Pinterest's favorite pins are visible only to you and board collaborators.
- Invite the client, stylist or second shooter with the plus circle icon under the board name, or copy the invite link. Set collaborators to Save and comment if you want them to add and comment without deleting pins. The access levels are listed in Pinterest's group board help.
If you want one image instead of a board, Pinterest's collage tool lets you cut objects out of pins and arrange them on a single canvas. Pinterest suggests it for mood boards.
Build boards around working decisions
A single Photography Inspiration board mixes references that solve different problems. A portrait pose, kitchen location and hard-light setup may all be useful, but at different stages of planning.
Start with the questions you repeatedly answer before a shoot. A practical set might include:
- Lighting
- Composition
- Posing
- Styling
- Locations
- Colour
Use narrower names such as Product Lighting or Editorial Portrait Poses only when they reflect your actual work. Avoid a board for every passing idea: too many boards recreate the same retrieval problem as one enormous board. Add a board only when an existing one repeatedly becomes difficult to scan.
Separate permanent references from active projects
Permanent boards hold techniques and visual ideas you may reuse. A project board has a narrower job: supporting one real brief.
When a shoot becomes active, create a temporary project board and pull in a focused selection. Include references that clarify the light, palette, location, wardrobe or framing. If two images communicate the same idea, keep the clearer one.
After the shoot, decide whether any reference belongs in the permanent collection. The project board may remain as a record, but it should not become the starting point for every future search.
Save for a reason
Before saving, finish the sentence: I want to remember this because…
The answer might be the direction of window light, subject-to-background distance, restrained palette or the way a hand enters the frame. That reason tells you where the pin belongs. If you cannot name what you want from an image, pause; more attractive photographs do not automatically make the collection more useful.
Bring outside references into the same working path
Inspiration also arrives through Instagram, film frames, photographers’ series and camera-roll location shots. Decide where those references meet your Pinterest collection.
You can keep a small outside-reference folder and review it while building a project board. You can also save each source in a searchable notes system with a short description and a link to the original. A saved-item tool such as dEssence is another option when you want to ask across articles, videos and images in one place.
Whichever route you choose:
- Capture only what you need.
- Preserve the source when possible.
- Use one dependable retrieval path.
If Pinterest saves stay on Pinterest, screenshots remain in the camera roll and Instagram saves remain on Instagram, every brief begins with several separate searches.
Describe what is visible
Concrete language creates useful retrieval handles. Write hard side light on a dark background, not dramatic. Write warm backlight through haze, not beautiful portrait.
Record the one or two details that made you stop:
- Light direction and quality
- Camera height or framing
- Subject placement
- Background or location
- Colour palette
- Wardrobe or props
- Movement or pose
Use the vocabulary you naturally use during a client call. The system should match how you describe a picture under pressure, not how a formal archive might classify it.
A photography mood board template you can copy
Use the same layout for every shoot so clients learn to read it. One page, top to bottom:
- Header: shoot name, date and three words for the feel.
- Light: two references plus a note on source, direction and time of day.
- Colour: a palette of three to five colours taken from the references.
- Location: one wide shot of the place or a similar one, plus one detail.
- Styling: wardrobe, props and hair or makeup, two or three images.
- Posing and framing: the crops and poses you plan to repeat.
- Must have shots: a short list in words.
Write one line under each image in the concrete language described above, such as hard side light on a dark background. A client reads a note faster than they decode a picture.
To send the template as a PDF, lay it out on a FigJam board and choose File, Export as, then PDF, as Figma's export help describes. Our guide to making a Figma moodboard covers the templates and plugins for that route.
Photography mood board examples
Wedding. Header: golden hour, film grain, candid. Light: couple backlit at sunset, soft window light for getting ready. Colour: ivory, sage and warm skin tones. Location: an open field and the venue's staircase. Posing: walking and talking, few looks to camera.
Product shoot. Header: clean, graphic, premium. Light: hard side light on a dark background with one strong shadow. Colour: black, brass and one accent. Styling: a single prop per frame. Framing: square crops for social and a wide frame with space for text.
Portrait or fashion shoot. Header: moody, editorial, close. Light: one window, no fill. Colour: deep blue and rust. Styling: textured knitwear and no logos. Posing: seated, hands near the face, tight crops.
Each example answers the same five decisions. That is what makes a mood board useful on the day of the shoot.
Review the system when retrieval fails
Repeatedly opening several boards for the same kind of reference suggests unclear boundaries. Rename or combine them. Split a broad board only around a real working distinction, for example Natural Light and Studio Light if those shoots are planned differently.
Remove references that no longer teach you anything. Keep images that still help you explain a choice, reproduce a technique or communicate a mood. The useful collection is not the largest one; it is the one that produces the right visual reference while the client is waiting.
FAQ
What should a photography mood board include?
Light, colour, location, styling and posing, with two or three references for each and a one line note under every image. Add a header with three words for the overall feel.
How many images should a photography mood board have?
Around 10 to 15. Fewer leaves decisions open, and more makes the client guess which image matters.
Can I make a photography mood board on Pinterest?
Yes. Use a private board with one section per decision, star the key reference in each section and invite the client as a collaborator. For a single image, use Pinterest's collage tool.
How do I share a photography mood board with a client?
Invite them to the Pinterest board with the Save and comment access level, or export a one page PDF from FigJam and send it with the shoot brief.